Bootstrap Row Css
Introduction
Just what do responsive frameworks handle-- they supply us with a useful and functioning grid environment to put out the web content, ensuring that if we specify it correct so it will operate and show appropriately on any kind of device despite the measurements of its display screen. And exactly like in the building each framework featuring one of the most popular one in its newest edition-- the Bootstrap 4 framework-- incorporate simply a handful of major elements which set and combined properly can assist you make nearly any appealing look to fit in your layout and view.
In Bootstrap, generally, the grid system becomes constructed by three fundamental features that you have probably previously seen around checking out the code of several web pages-- these are simply the
.container.container-fluid.row.col-In case you're rather new to this whole entire thing and at times get to think about which was the correct approach these three has to be positioned within your markup right here is a useful tip-- all you ought to keep in mind is CRC-- this abbreviation comes to Container-- Row-- Column. And since you'll shortly adjust spotting the columns like the inner feature it's not differ possible you would certainly misjudgment what the primary and the last C means. ( useful source)
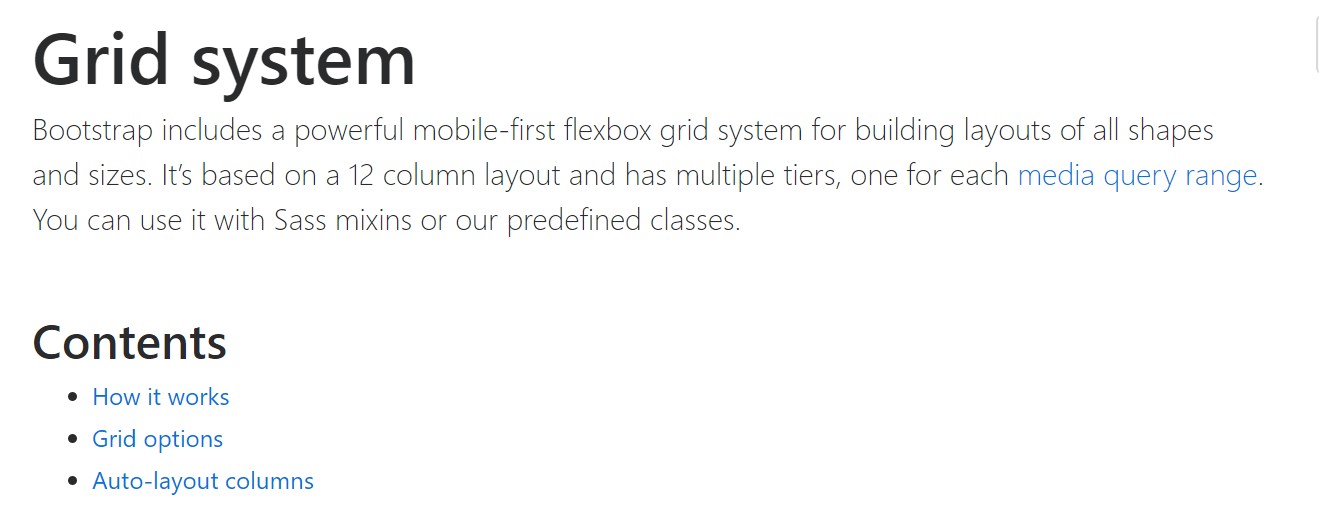
Couple of words with regards to the grid system in Bootstrap 4:
Bootstrap's grid method employs a variety of columns, containers, and rows to design and also fix web content. It's constructed with flexbox and is entirely responsive. Shown below is an example and an in-depth review precisely how the grid interacts.

The mentioned above sample develops three equal-width columns on small, normal, large size, and also extra sizable devices utilizing our predefined grid classes. All those columns are focused in the web page with the parent
.containerHere's how it does the trick:
- Containers give a solution to centralize your website's contents. Work with
.container.container-fluid- Rows are horizontal bunches of columns that provide your columns are arranged correctly. We make use of the negative margin method for
.row- Web content needs to be set in columns, also just columns can be immediate children of Bootstrap Row Css.
- Because of flexbox, grid columns without any a fixed width will by default layout with same widths. As an example, four instances of
.col-sm- Column classes signify the number of columns you want to work with from the possible 12 per row. { In such manner, on the occasion that you desire three equal-width columns, you can surely use
.col-sm-4- Column
widths- Columns come with horizontal
paddingmarginpadding.no-gutters.row- There are 5 grid tiers, one for each and every responsive breakpoint: all breakpoints (extra little), small, normal, large, and extra large.
- Grid tiers are based upon minimum widths, signifying they apply to that one tier plus all those above it (e.g.,
.col-sm-4- You can use predefined grid classes or else Sass mixins for more semantic markup.
Take note of the limitations along with failures around flexbox, such as the inability to utilize certain HTML features such as flex containers.
Though the Containers provide us fixed in max width or expanding from edge to edge horizontal space on display screen with small handy paddings across and the columns grant the means to distributing the screen space horizontally-- once again with several paddings around the concrete material granting it a territory to breathe we're planning to target our focus to the Bootstrap Row element and all of the amazing approaches we are able to apply it for styling, coordinating and delivering its materials utilizing the bright new to alpha 6 flexbox utilities that are truly some classes to provide to the
.row-sm--md-The way to apply the Bootstrap Row Panel:
Flexbox utilities may possibly be utilized for developing the disposition of the features placed in a
.row.flex-row.flex-row-reverse.flex-column.flex-column-reverseListed here is precisely how the grid tiers infixes get applied-- for example to stack the
.row.flex-lg-column.flex-With the flexbox utilities useded on a
.row.justify-content-start.justify-content-end.justify-content-center.justify-content between.justify-content-aroundThis counts likewise to the upright positioning which in Bootstrap 4 flexbox utilities has been simply addressed just as
.align-.align-items-start.row.align-items-end.align-items-centerSome other possibilities are coordinating the items by their baselines being aligned the class is
.align-items-baseline.align-items-stretchEach of the flexbox utilities spoken of so far support independent grid tiers infixes-- put them right before the very last word of the equivalent classes-- such as
.align-items-sm-stretch.justify-content-md-betweenFinal thoughts
Here is simply just how this crucial but at very first look not so adjustable element-- the
.rowCheck several video short training about Bootstrap Row:
Linked topics:
Bootstrap 4 Grid system: approved information
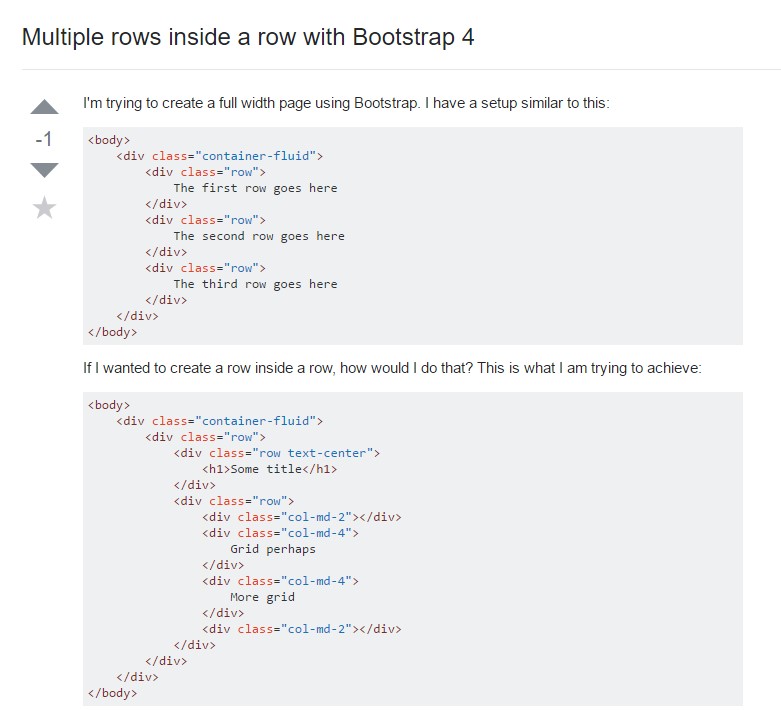
Multiple rows inside a row with Bootstrap 4
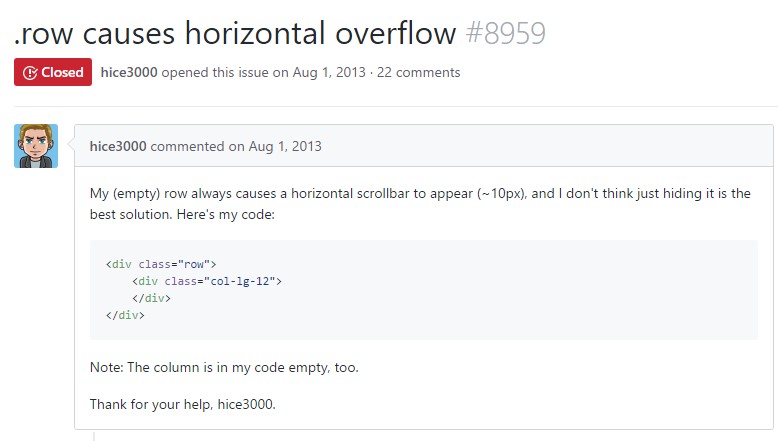
One more complication: .row
causes horizontal overflow
.row